Everyone likes to stay stocked up on their favorite foods and snacks. The problem is when your kitchen has limited storage space. There just isn’t enough room in your cupboards and pantry – you might not even have a pantry at all.
There’s a way to keep all your faves on hand, and stash them away, too. Even better, the solution uses an awkward space in your kitchen that you probably thought was unusable: the gap between the fridge and wall.
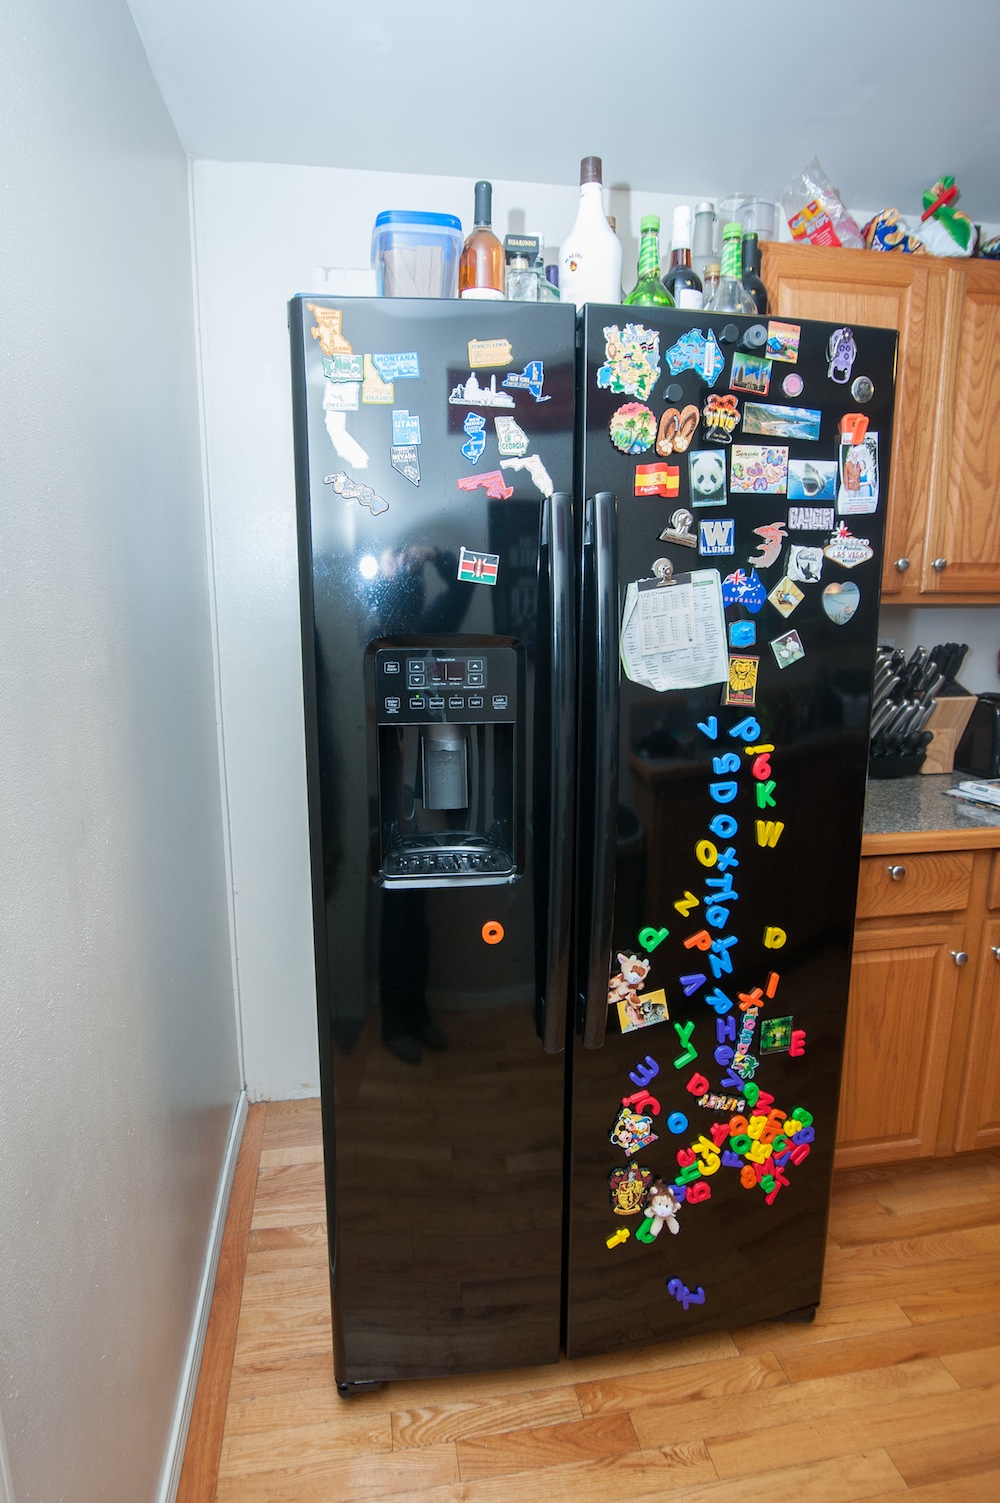
Here’s how one couple took that little gap and turned it into a useful space by building a DIY rolling pantry.
This rolling pantry is essentially a shelf with wheels. You can stow it beside your fridge (or any other narrow space), then wheel it in and out to load up all your goodies and grab them when you’re ready. And it’s a great DIY project for a novice builder.
Measure first
Before you begin building anything, you need to take measurements of the space where your rolling pantry will go.
- How tall do you want your pantry to be?
- How wide is the space between the fridge and the wall?
- How far back does it go (we’ll call this length)?
Take note of these measurements, because they determine what size boards you need.
In this case, the couple had about 10 inches between the wall and the fridge, so they chose a board width of 8 inches. They wanted their rolling pantry to extend all the way back to the wall (2.5 feet), and be shorter than the fridge so they could stack items on the top shelf without them showing above the fridge (5 feet).
Don’t forget to consider the height that the casters will add when deciding the height of the pantry.
Materials
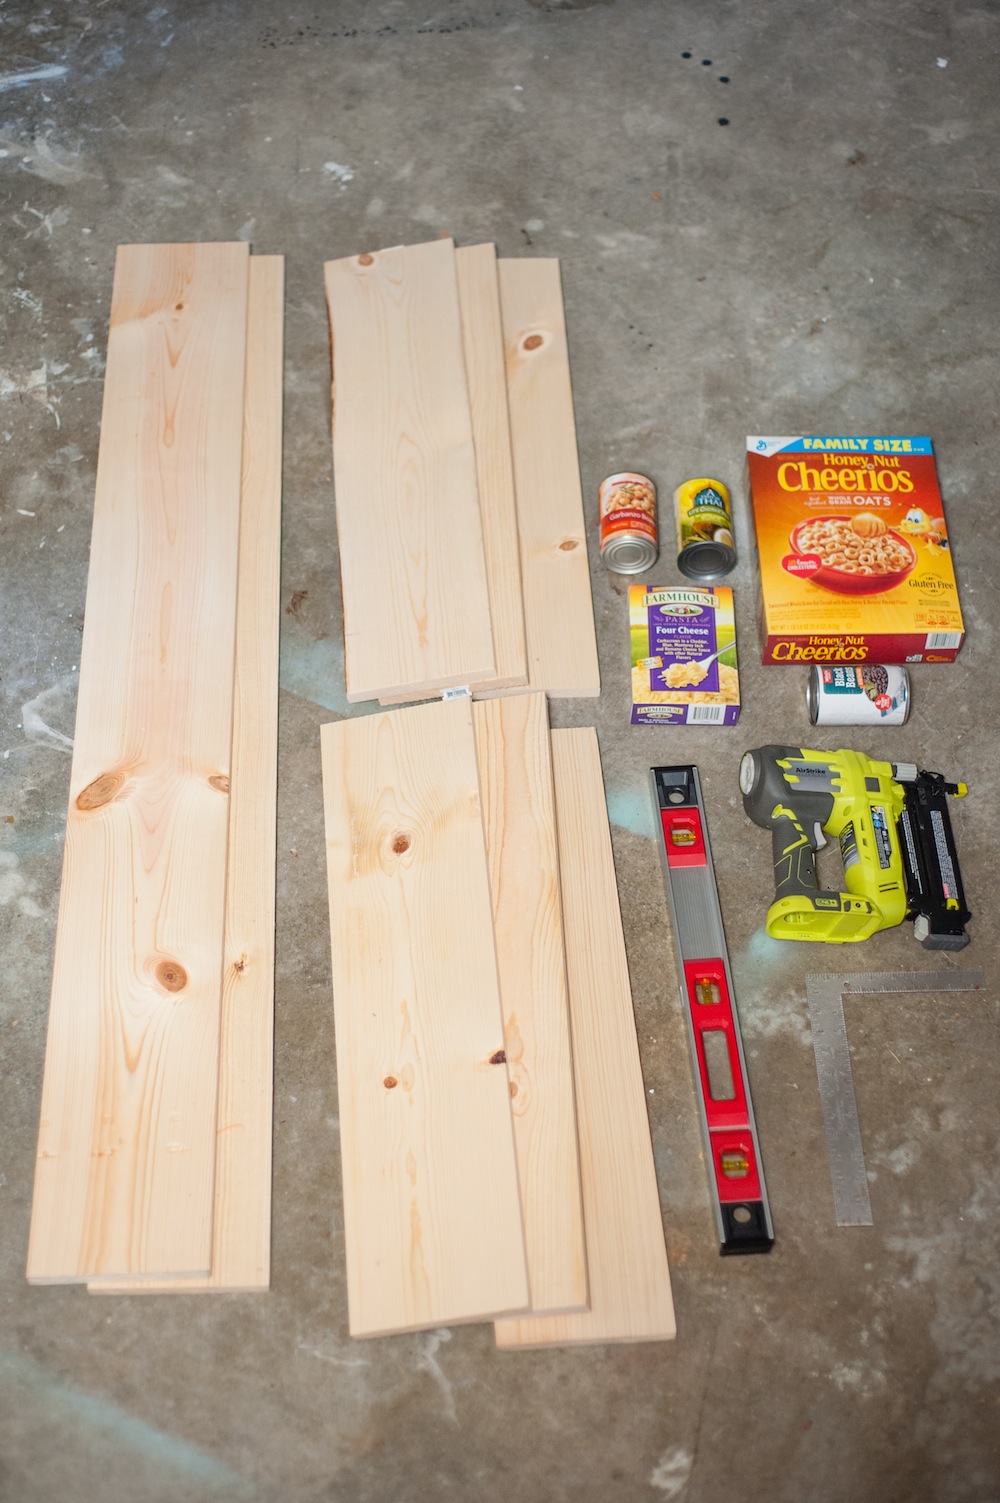
- Two long 1-inch thick boards cut to the desired height (in this case they were 5 feet long by 8 inches wide)
- Six shorter 1-inch thick boards cut to the desired length (these are the shelves; in this case they were 2.5 feet long by 8 inches wide)
- 0.5-inch diameter dowels cut several inches longer than your shelf length (in this case, about 3 feet long)
- Handsaw
- Nail gun and nails
- Right-angle ruler
- Level
- Wood glue
- Assorted food items, like a cereal box, bottles, cans (for judging shelf height)
- Paintbrushes, rollers, paint tray, and paint or wood stain
- Plywood piece cut to the same dimensions as your pantry frame (in this case, 2.5 feet by 5 feet)
- 4 swivel casters (optional: with brakes)
- Pull handle
- Screwdriver
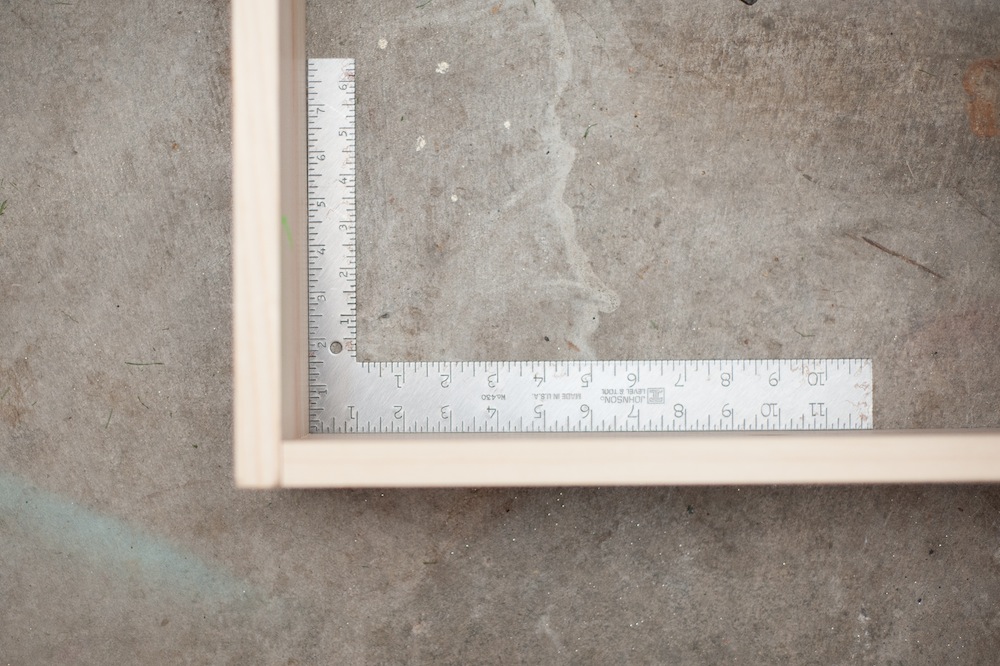
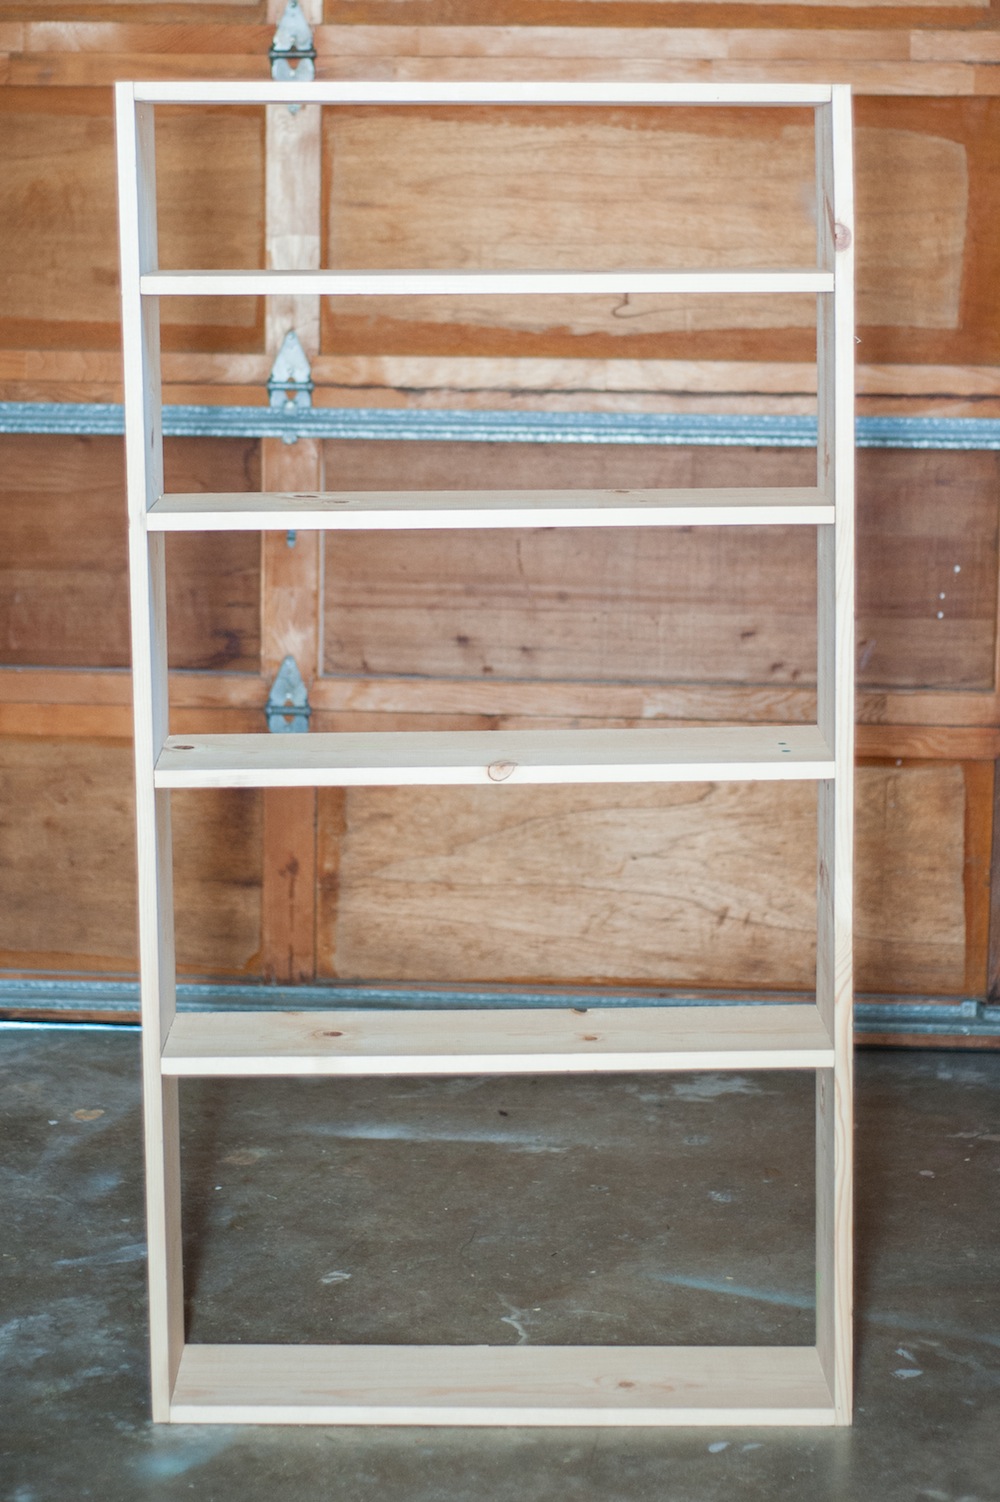
1. Build the frame
Take one of your long boards and one of your short boards and line them up, with the shorter board fitting inside the longer one. Use a right-angle ruler to ensure that your boards are at a perfect 90-degree angle. You may glue the pieces together for extra hold, or just nail the boards together using a nail gun.
Repeat with the another short board at the top of the same long board that you just nailed.
Once you have both short boards attached to one long one, take the other long board and line it up at the opposite ends of the short boards. Ensure the corner angles are 90 degrees, and glue and nail as before.
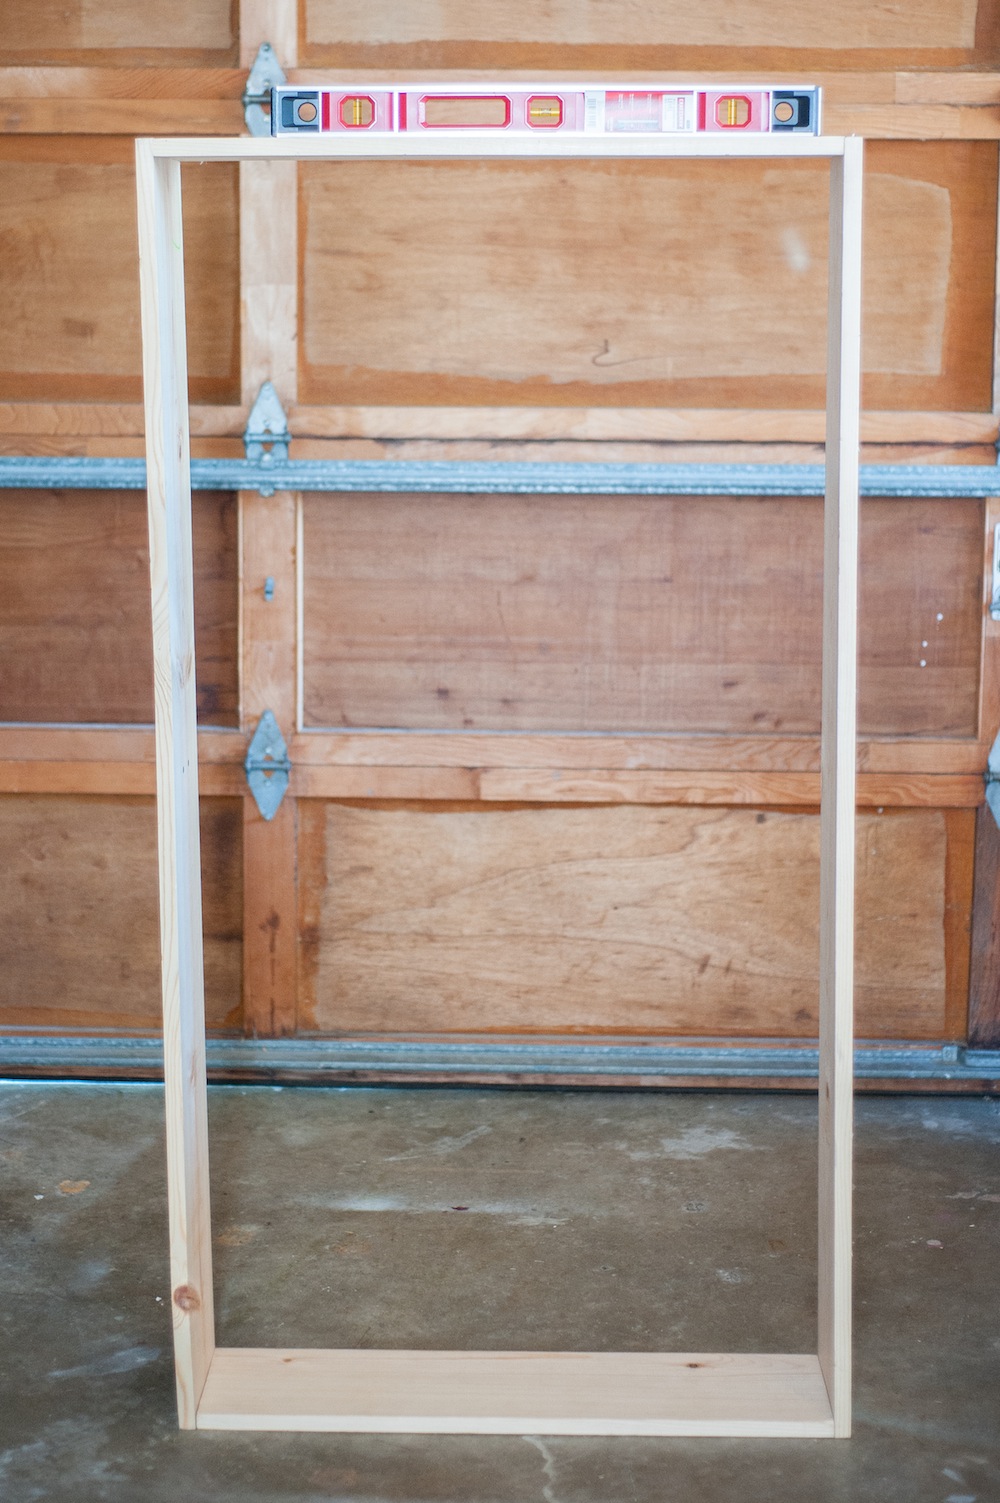
Once you have your frame built, use a level to check that it’s even.
2. Add the shelves
Lay the frame down flat on the floor. To estimate how much space you will need between each shelf, place some of your pantry items on the floor inside the pantry frame. Take the remaining short shelf boards and place them within the frame, moving them around as needed to fit your food items.
It’s best to have the heaviest items on the bottom shelves so the pantry isn’t too top heavy; have the shelves for smaller items at the top of your pantry.
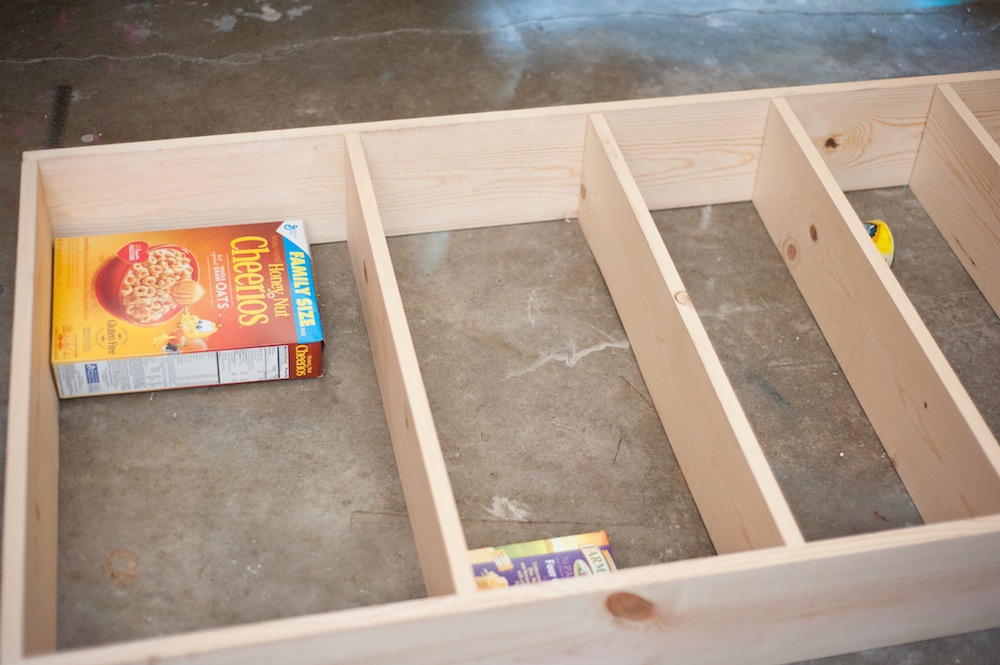
Once you are confident in your shelf spacing, mark where each shelf goes, add wood glue to the ends, and reinsert the shelves into the frame. Check each corner placement with the right angle ruler and level to make sure the shelves are straight. Use the nail gun to nail each shelf in place.
3. Add dowels
You’ll want your pantry items to stay in place (no rogue cans rolling away), so add dowels to the front of your pantry to keep everything where it’s supposed to be.
Measure out where you need to cut your dowels to fit within the pantry frame and mark the dowels with a pen.
Cut the dowels down to size using a handsaw or circular saw.
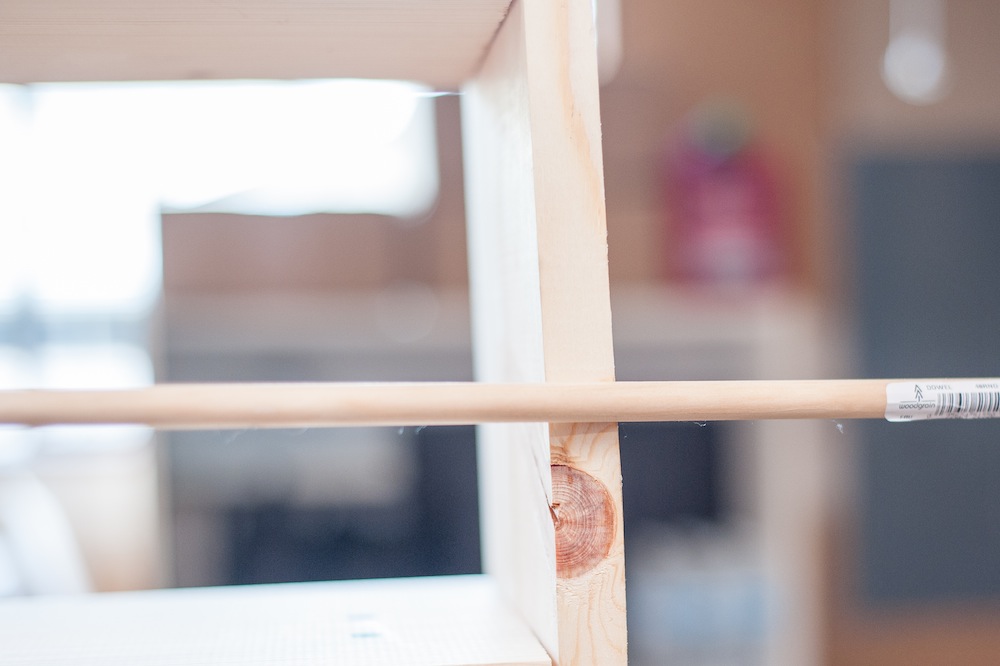
Once the dowels are cut to size, add some wood glue to each end and wedge them into the pantry. You want a tight fit. For extra stability, put a nail through the exterior of the pantry into each dowel end.
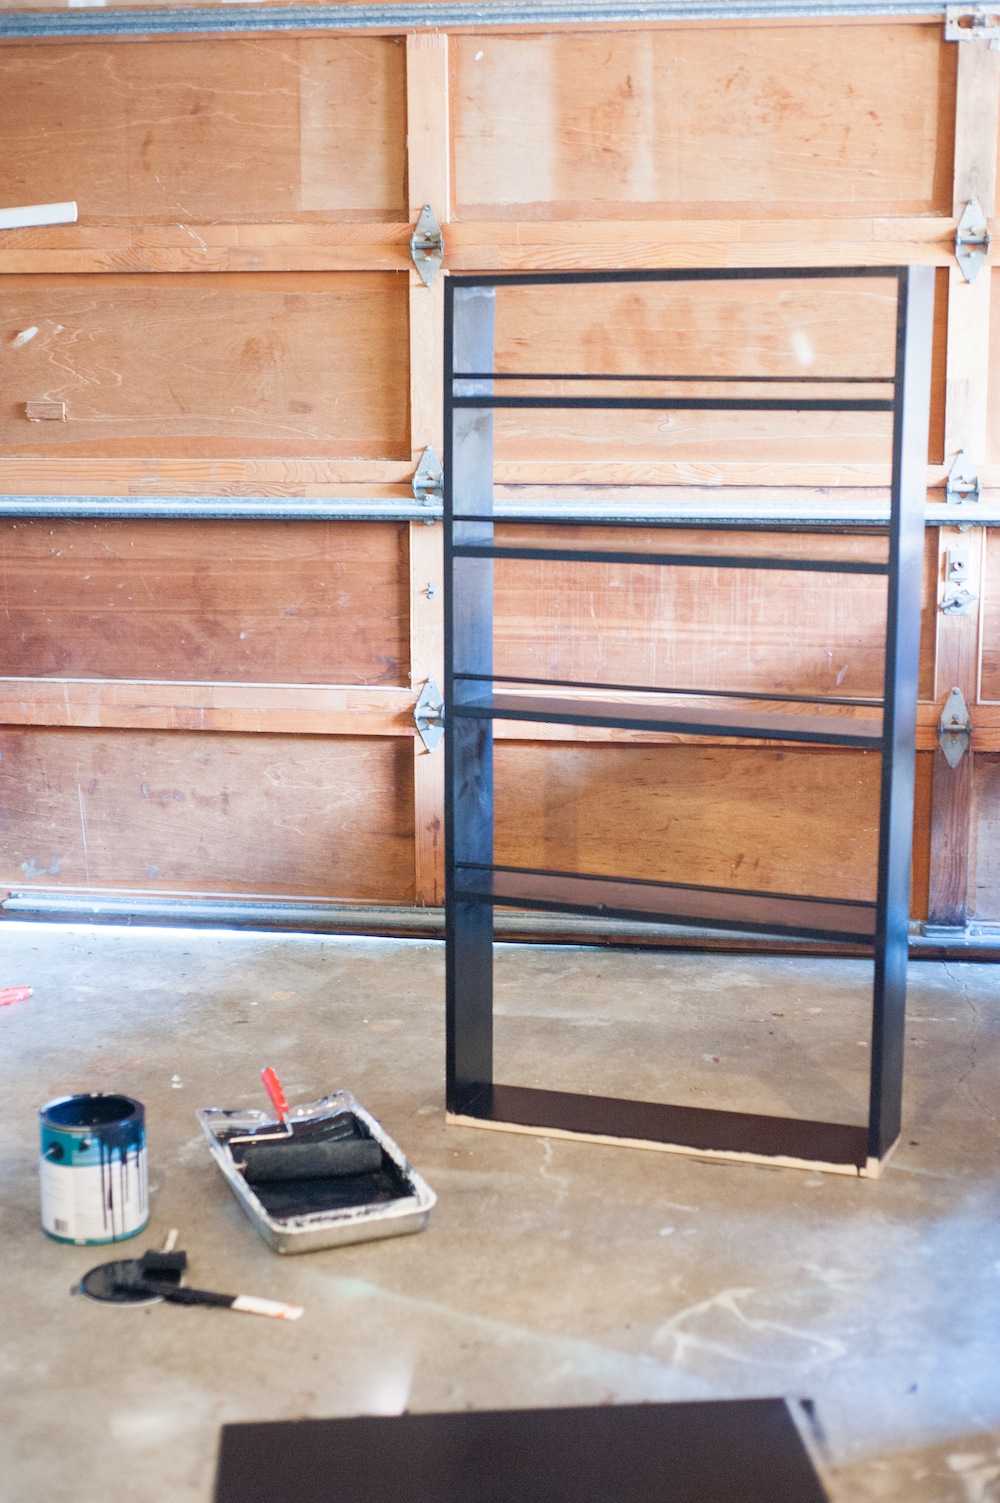
4. Paint or stain it
Now it’s time to customize your rolling pantry. Pick your favorite paint color or wood stain. This couple wanted black paint to blend in with their existing appliances.
Paint your pantry with two coats for an even finish; seal if necessary. Let the paint dry completely.
5. Jazz up the backing
If you want to customize your rolling pantry even more, consider adding a decorative back to your frame. This piece will keep your food items from falling off the shelves.
Paint one side of the plywood backing with your pantry frame’s color (in this case black) and the opposite side a contrasting color (in this case white).
Now make it pop. Customize your pantry using a stencil. Here, we used light gray paint and a Moroccan star stencil to create a visually stunning backdrop.
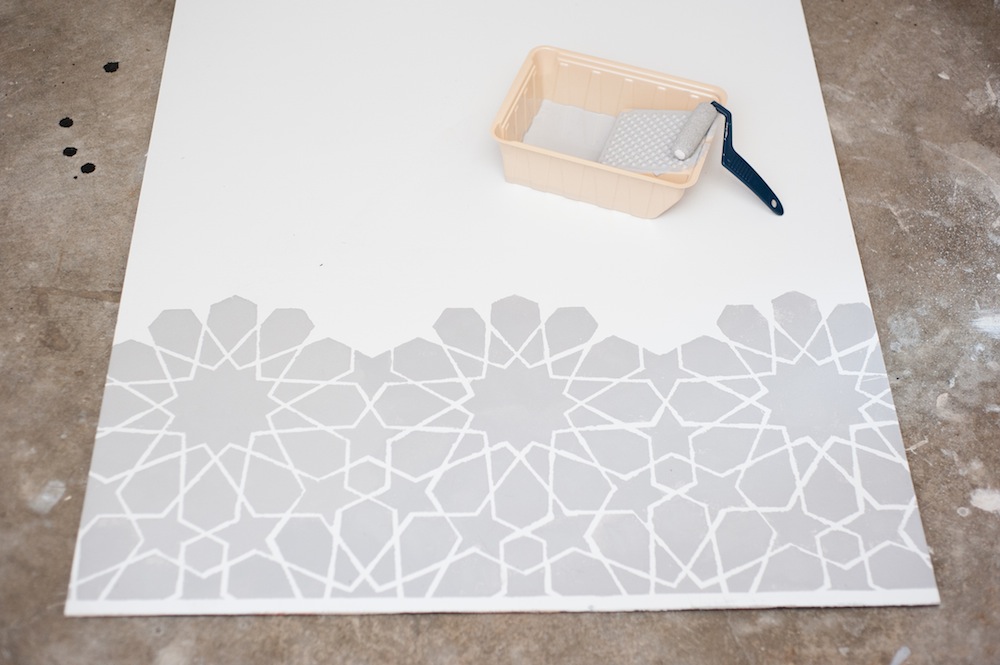
Let your decorated plywood backing dry for several hours.
6. Nail the backing to the frame
Flip your rolling pantry on it’s front or side, place the decorative backing over the back of the pantry and nail it in place along the edges, as well as into the backs of the shelves. This prevents the plywood from bowing, and will keep everything nicely in place.
7. Add the casters
Now it’s time to make it roll. Affix the casters to the bottom of your pantry using an electric screwdriver. If the screws for your casters are too long and look like they will go through the bottom shelf of your pantry, add another piece of wood to ensure the screws will stay in place, but not come through the bottom (as shown below).
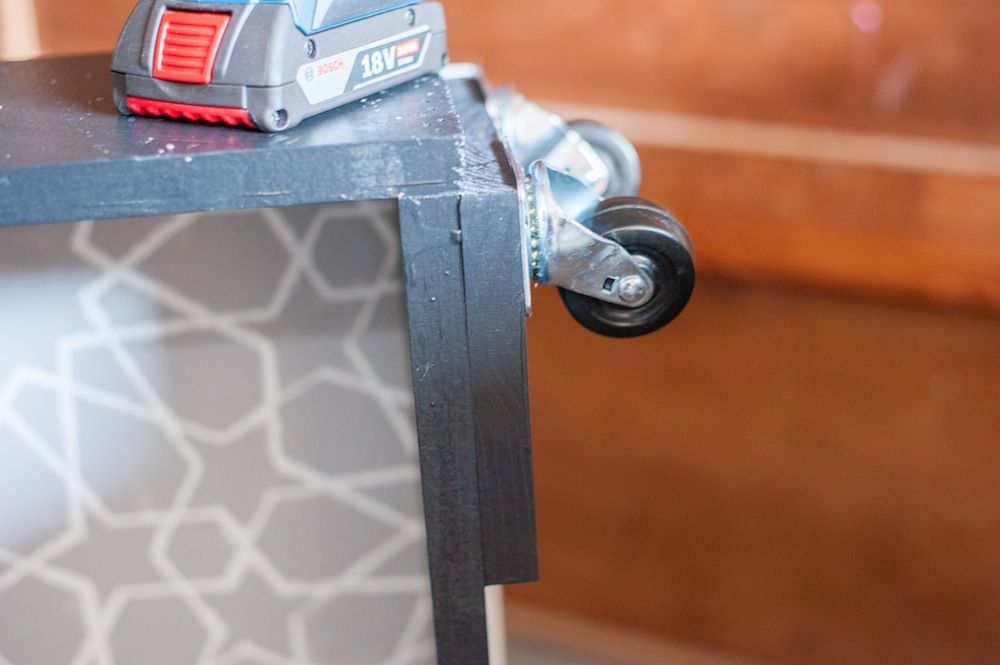
Bonus tip: Use casters that have foot brakes on them so you can prevent your pantry from rolling all over the place when you want it to remain stationary.
8. Add the handle
You’ve got to be able to pull out your pantry. Affix a handle to the front end of your pantry using an electric screwdriver. Make sure the handle is on the correct end.
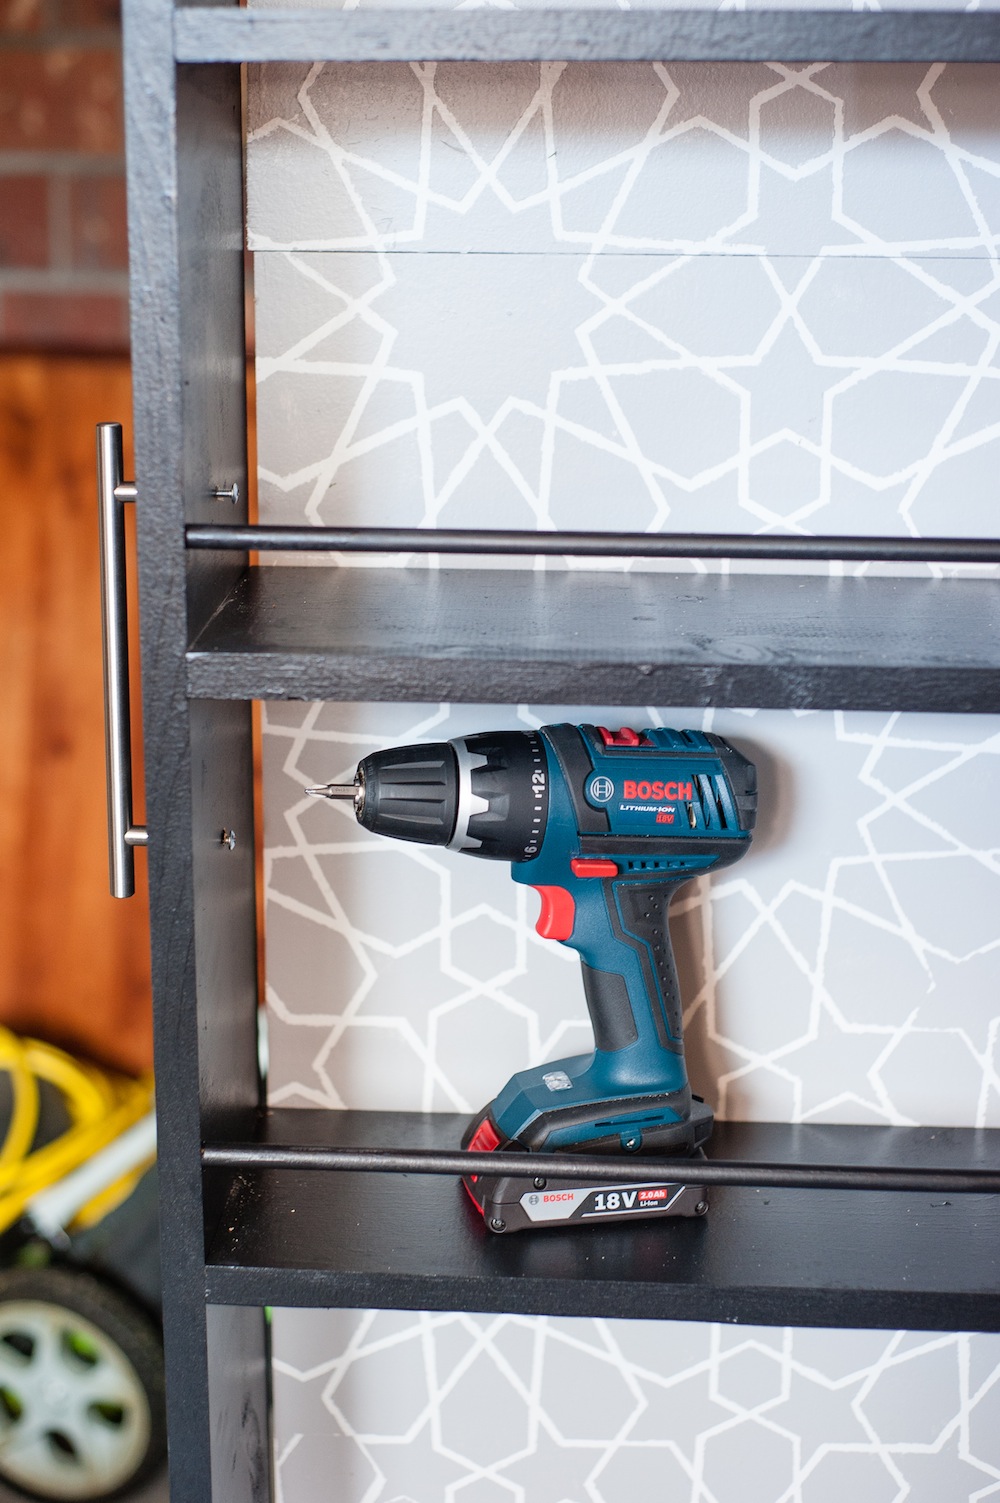
The finished prodcuct: a beautiful and functional rolling pantry.
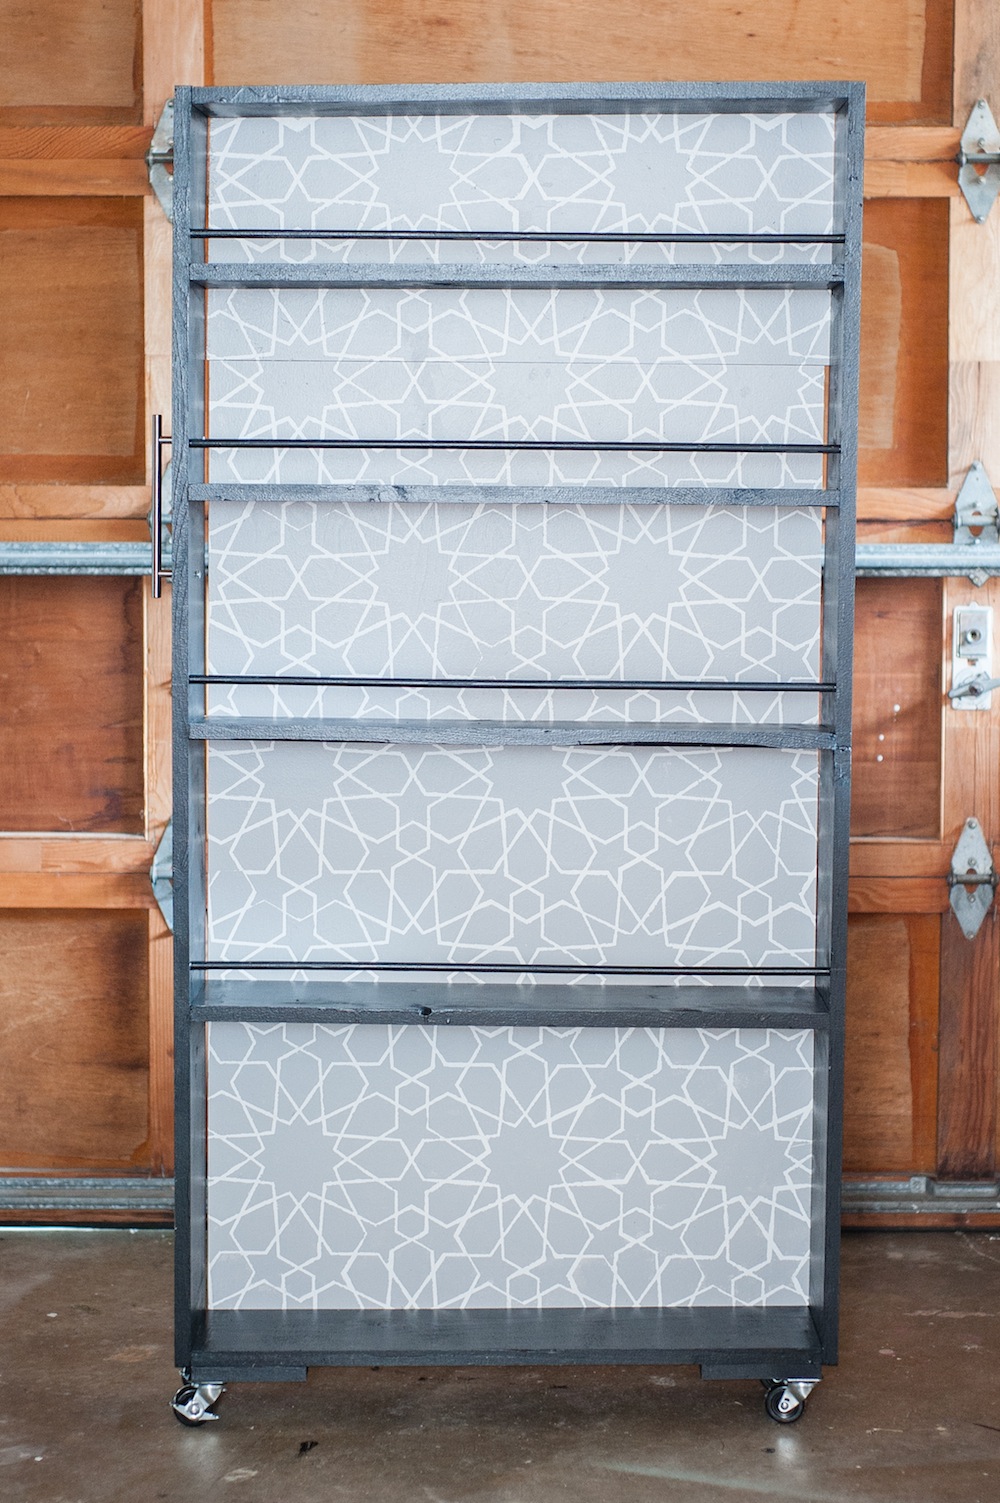
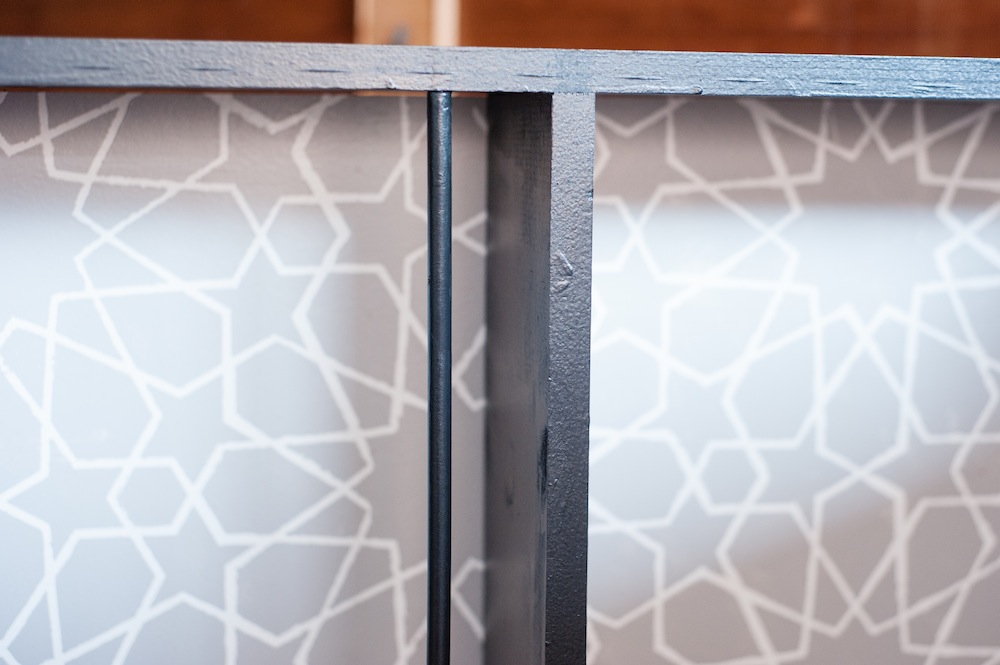
This DIY rolling pantry fits perfectly into the couple’s kitchen. The black paint helps it blend in with the fridge, and the Moroccan star background keeps things interesting when it’s rolled out.

The rolling wheels allow the pantry to glide out with ease with just a pull of the handle. Locking casters keep the whole thing in place while you look for ingredients and canned goods.

There you have it – a super easy-to-follow tutorial for building your very own DIY rolling pantry.
Photos courtesy of Erica Sooter.
Related: