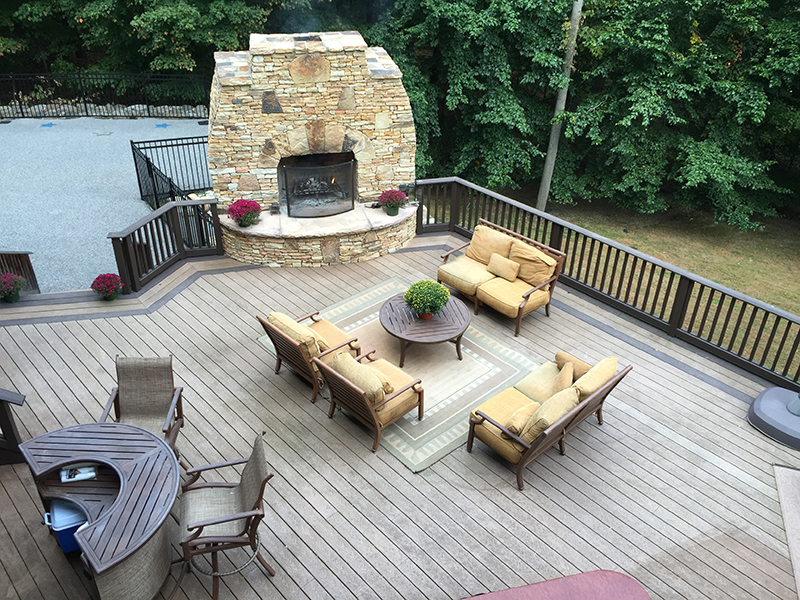
It can be a cookout space, lounge area complete with a brightly colored umbrella, or a display of potted plants. For whatever purpose you use your wood deck, it requires regular maintenance and upkeep to be able to provide you with years of pleasure.
The key to preventing long-lasting damage to your deck is spotting and repairing the most common problems early on. With a little attention – and this helpful checklist of maintenance must-dos – you can keep your deck looking as good as it did the day it was constructed.
Keep it clean and dry
Leaf mold, spills, and tracked mud diminish your deck’s good looks and can attract unwanted flies and insects. Promptly scrub away stuck-on debris with warm water and wood-safe oxygen bleach (mixed as directed on the bleach container), then rinse clean. Perform these steps and spot treatments as needed throughout the year.
You should also clean the entire deck at the start of every season using either the approach described above or a power washer at its lowest pressure setting to quickly spray away dirt and grime.
It’s fine to let your deck air-dry on its own after cleaning or a rainstorm, as long as you remove outdoor accessories that retain moisture on the deck’s surface. Make sure that outdoor rugs or doormats are quick-dry rubber, and always place saucers underneath potted plants.
Rejuvenate natural wood
Do you remember how your redwood deck looked and felt when it was first installed? Its color was warm, and the wood was soft and smooth underfoot.
Over time, natural woods, including redwood, cedar, and teak, can start to feel rough and turn silvery gray. Fortunately, the original hue is merely hiding just beneath the surface. Simply sanding a deck made of natural wood will remove its weathered layer and restore the original color.
Protect and seal
Apply a penetrating sealer annually after a thorough cleaning to protect your wooden deck from the elements for the next 12 months.
Wait until the deck has completely dried and been sanded (if desired), then use a product that repels water, offers UV protection, and contains a mildewcide. Make sure you get the right kind of sealer for your deck. Natural woods require specific sealers.
If your treated-wood deck looks faded, you can opt for a combination sealer and stain to refresh its appearance and protect it at the same time.
Replace old nails with screws
Wood decking swells and moves with humidity and temperature fluctuations. As a result, nails used in deck construction can become loose, resulting in raised nailheads.
Instead of hammering the nails back down, pull them out and replace them with decking screws.
If your deck is made of treated lumber, use plastic-coated ACQ-compliant screws. For a natural wood deck, choose screws with a corrosion-resistant coating.
Swap out warped and rotted planks
Even when chemically treated, wood can warp over time. This problem is particularly common with longer boards like decking planks. More than simply detracting from your deck’s appearance, these defects can cause guests or family members to trip or get a splinter.
Replacing the entire plank is the best choice. However, if only a small section is affected, you can get by with cutting the plank back to the center of a joist and installing a replacement section.
Secure rickety railings
Weather extremes, loose fasteners, and kids’ horseplay can all take a toll on a deck’s railing. Once a rail is wobbly, it takes more than just a few screws to stabilize.
For beefed-up lateral support, add a vertical post between existing support posts. Secure the new post by bolting it to the deck’s rim joist and to the railing.
Fix up failing posts
A deck that settles, tilts, or slopes is showing signs of post failure. Inspect posts positioned nearest the lowest point of the deck. Your next steps will depend on the extent of the damage.
For a slipping post: If a support post has slipped downward in the center of a concrete footing, jack up the deck until it is level and bolt angle iron support brackets at the post’s base.
For a rotting post: If a support post is rotting at the base, you’ll have to jack up the deck and completely replace the post. Mount the new post in an iron post bracket secured to the top of the concrete footing.
To reduce the risk of post rot in the future, pack vinyl concrete patcher around the base of the support post to form a bevel that drains water away from the wood.
See deck design inspiration on Zillow Digs.
Entertaining outdoors this summer? Add festive accents to make your gathering extra special.
Don’t miss out on the next Zillow video! Subscribe today to see the latest.
Related:
- How to Get a Landscape You Love … for Less!
- How to Plan the Perfect Patio
- Everything You Need to Know About Cooling Your Home
Note: The views and opinions expressed in this article are those of the author and do not necessarily reflect the opinion or position of Zillow.
Originally published on June 17, 2016